Monday, May 2, 2016

Scrapshotz April 2016 Kit - Fancy Pants "Attwell"

Well this kit was awesome! I always have fun with them, but this one was diverse and so easy to work with! Let's get started!

I love the watercolor look of this patterned paper! What bright fun it is! To highlight the blooms, I die cut scribble blooms and adhered them to the 3 main flowers that are showing. I used some washi tape to border the strip of yellow diagonal striped paper, and also to tape the photo on. This is one of those "Oh my goodness, this girl is something!" layouts of my granddaughter.

We generally like to include a sketch in our reveal and this was one from the April 2016 Pagemaps release. 


Here is my take on it:
 
 I loved the diamond shapes and used a Spellbinders die to cut these and their mats out. Some of the diamonds are popped up to create texture using dimensionals, as well as using the corrugated cardstock for a few of them .  The swirly patterned paper is a great way to add movement and makes this a happy layout.
This layout used a couple of different patterned papers and the puffy embellishments from the Fancy Pants "Attwell line." I love the colors, and they were perfect for these photos of the bridge that my grandson and his Grandpa made for his school project. A little bit of gold splatter adds to the diagonal flow.
I love the dramatic look of the black and white diagonal stripes in this pattern! The mat of colorful patterned paper brings the photo of my handsome grandson to the forefront. A perfect embellishment on the corrugated cardstock strip are the lovely brads from Emerald Creek. Some journaling hides on a tag behind the photo, and a puffy sticker word serves as the title.

I found another way to get those vibrant, fun colors onto my layout. I cut strips of patterned paper and made them a design element. The tags serve as embellishments as well as a spot for both the title and journaling. 

I made a few cards with the scraps of patterned paper left in the kit. I love the bright feathers on this one and die cut some feathers to use as my main element on this card.

The same patterned paper offers quite a different look when bordered by black cardstock and embellished with gold and white feathers and a pretty yellow ribbon and bow. 
 A simple "Thank you" card with the red cardstock and die cut tags is effective.
This card is made from scraps and a die cut butterfly. Wink of Stella glitter has been added to the wings of the butterfly, and a Jillibean soup label serves as the sentiment.
Finally, our team was asked to showcase the Prima Art Alchemy acrylic paint. I used the iridescent Opal Magic Pink-Blue to paint an inexpensive frame that I used for a Minc foiled quote. The paint is so pretty and went on so smoothly! I love that it the blue/pink tones change as you look at it from different angles. It took an inexpensive white frame from nice to Wow! in a single coat.

Thanks for looking in on my April reveal. Stayed tuned for the rest of the design team's work this week. You will be amazed with the variety and volume of projects from a single kit. Scrapshotz kits are always impressive!

Card Crew Challenge - April 17, 2016

Today the challenge is a simple one. Thanks to Pinterest, I was playing with an old technique, while I was watching "Vikings" on tv. I looked up and saw a scene where the colors in a misty forest were breathtaking. I tried to recreate that color scheme with my distress ink pads and was pleased with the serene look I achieved. The technique is simply to pull your ink pad across the panel. I used Tim Holtz Distress Inks - Hickory Smoke, Peeled Paint and Iced Spruce. Then I stamped with the Tim Holtz stamp "A Tree Line" with Jet Black Archival Ink. I used the primary inking of the stamp and then offset as second generation stamping slightly behind the first, then wrapped a length of twine on the bottom.

Saturday, April 16, 2016

Scrapshotz March 2016 Kit Reveal - Pinkfresh "Felicity"

Please note:
This is a blog post that I have put together for the Scrapshotz blog. The other girls on the design team have also posted their projects from this kit, so have a look at them too! 


This was a fun kit to work with. Lots of great colors and geometric designs are included in the patterned paper and the embellishments. Let's get started! 

The touches of gold on the vellum paper gave this layout a little bit of subtle bling. I accented that pattern with a strip of gold cardstock along the bottom, giving my photos a base to sit on. The black foam thickers are included in the kit, and I like the scripty font! I finished it off with a border penned with a ruler.

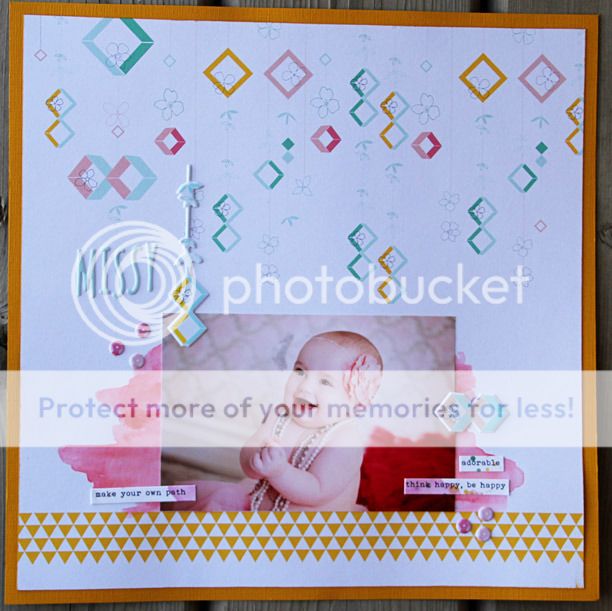
This patterned paper is light and so interesting! To mat my photo, I used a bit of watercolor paint. The puffy stickers accentuate the fun geometric patterns, and the word stickers are appropriate and already had the watercolor effect on them! The block of triangles on the patterned paper was perfect to support the photo. A couple of groups of 3 puffy sequins give the layout even more dimension.
This layout is a favorite of mine. I think it might be the look in her eye? Again, the patterned paper is light, colorful and fun! I used the banner to mat the photo, and embellished around it with puffy stickers that highlight the elements on the paper. A gold clip gives the photo just a little boost, and the quote sticker is all about how happy spring is!
This layout came together quickly. The quotes on the strip of paper are bold and bright, and suited the photo very well. The swirl accents that are included in the Felicity Die Cut package give the title movement and enthusiasm. I really liked the way the patterned paper background had a lot of detail, but because it is mostly outline only, it doesn't overpower the main elements of the design. I placed the title on top of a puffy sticker, using the foam thickers again!
This pattern is great for this photo! These 2 are very different kids, but they play and interact really well together, just like the colored blocks and varying tones of this paper. I matted the pic with a dark color and grounded it with a strip of cardstock that used my old faithful "Threading Water" border punch. (Who ever came up with THAT name? Lol!) The title was die cut with my new Tim Holtz Marquee alpha thinlits set that I had asked Sandy at Scrapshotz to source for me. She is really awesome about finding specific products. If anyone can find it (at the best price, too!) she can. I finished this layout out by balancing my title with some puffy stickers from the kit and penning a border with a brown pen. 
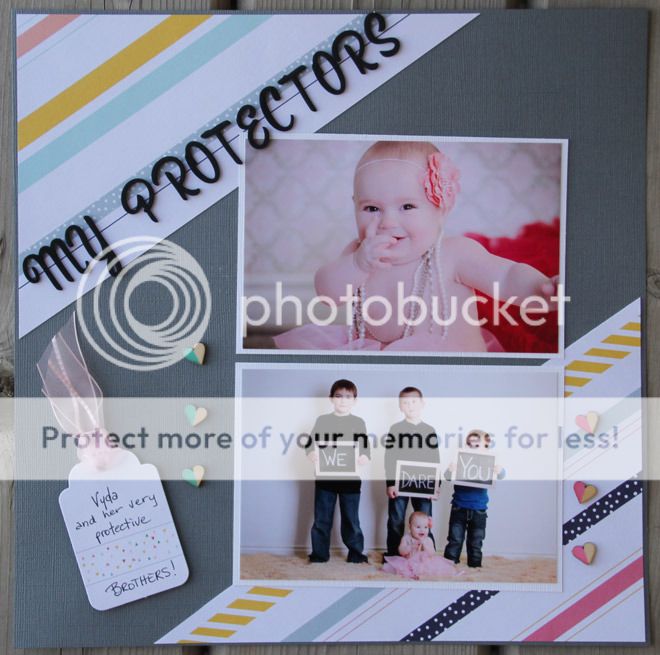
This patterned paper begged to be cut on the diagonal. The pattern and the cutting gives this layout a fun aspect that it wouldn't have had with horizontal lines. The photos are mischievous and cute and the gently falling hearts around the photos highlight the love that they display. What little girl wouldn't love to have 3 big brothers? I'll let you know when she starts dating!
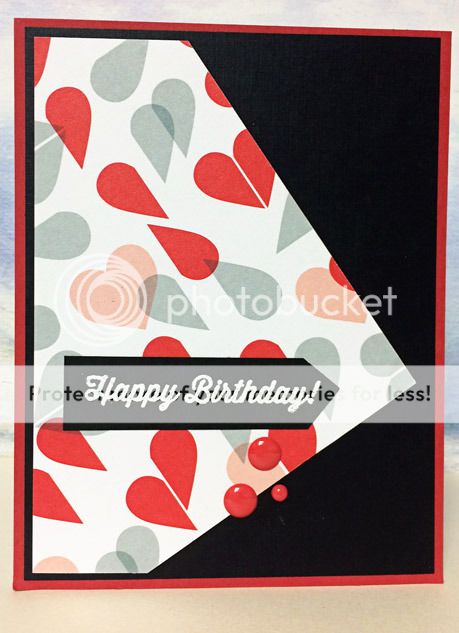
Slicing into patterned paper usually gives us such interesting pieces left over. The B side of the diagonal pattern paper above was these wonderful little drop shapes that look like hearts or wings, depending on how you look at them. I used a corner from my scraps for this card. I white embossed a sentiment on black cardstock and put some enamel dots below it, just because I love them! ;)
Then I used more of those leftovers to make a couple more cards. These ones are matted with different colors, and convey entirely different moods. You have to love a versatile pattern!
 These cards are also scraps made from the B side of leftovers. The "birds on a wire" remind me of telephone lines, so I thought the sentiment suited. (I probably just aged myself right there. Oops!) I used a Hero Arts Ombre inkpad for the sentiment on it. The card in the back is stamped with the the Misti and uses a die cut in the sentiment.  
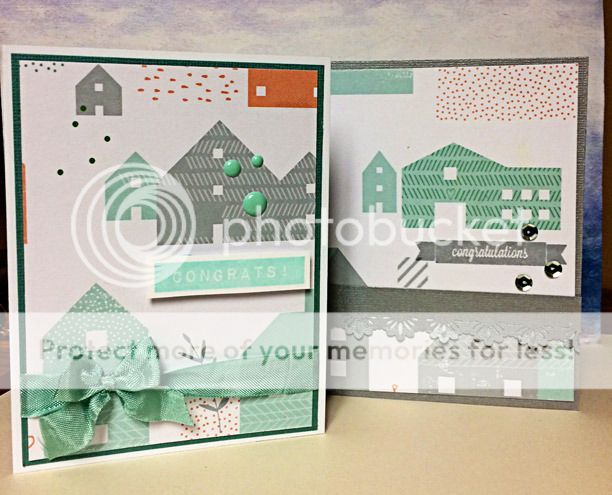
These cards are made from layout scraps as well. I love the basic shapes and thought the houses would make great "Congratulations on your New Home" cards!  One uses enamel dots as accents and the other uses the puffy sequins from the kit.
Thanks for having a look at my Scrapshotz March 2016 kit projects. If you have any questions, please just let me know! Have a great day! 

Monday, November 23, 2015

Online Card Class - More Holiday Style

 Here are some more cards that I made with techniques from the Holiday Style Online Card Class:

This might be my favorite technique. It took me a bit of time to find a stamp in my stash that worked with it, but this one does. It is stamped using distress stain. I love the uneven blotchy look of the tree. While I was at it, I stamped a few. Brey decorated this one with pearls, which makes it my favorite! 


I didn't want to cover up any of the tree, so I embossed the sentiment on vellum, and put it over the tree on this one.

This one was difficult. I tried to use this snowflake die as a border, and it was interesting trying to keep it all together. I ended up putting washi tape on the back of it to hold all the little pieces in place. Live and learn! Lol!

So then I tried an actual border die and was much more successful with it. I used flock on the first one for snow and diamond twinklets on the second. That gave really different looks. It was fun to use watercolors for backgrounds.

I'm really enjoying this class! I highly recommend it!

Wednesday, November 18, 2015

OCC - Holiday Style Glitter Paste Cards

These are embossing paste cards that I started the other night, but they needed some drying time, so they were completed last night. The first two are Bo Bunny glitter paste on Tim Holtz stencils and the third is Viva Decor glitter paste on a Prima stencil. I'm pretty happy that I'm using some of these products that I bought a while ago.

Thanks for stopping in!

Tuesday, November 17, 2015

Online Card Class - Shiny Gold Card

Since we were away from home last week, I'm a bit (okay, a lot!) behind in the Holiday Style Online Card Class. I decided that I would try to keep up with the current lessons then go back later to create the cards based on last week's.

This is one of the cards I put together last night. I love the shiny gold!


Monday, November 2, 2015

OCC Pre-Class Gallery Submission

Just getting started with the Online Card Class "Holiday Style." Here's a recent card that came out of my scrap room.
I'm looking forward to learning some new techniques while working on my holiday cards! Class starts next week!